We've all been there before: blinded after hours of staring at inspirational photos on Pinterest of every kind of cupcake imaginable, you stumble into the kitchen with an irrational sense of confidence and an elaborate decorating theme in mind. Then, two hours later, surrounded by a sea of flour and dirty dishes, you come to the terrible realization that:
- You still have to ice the damn things
- You don't own any decorating tools, so your plan of creating hyper-realistic orchids out of frosting probably isn't going to happen.
How do you ice cupcakes without a piping bag?
Luckily, you have two useful decorating tools attached right at the end of your arms! And, hopefully a butter knife to spread the icing (technically you can use your hands for that too, but let's attempt to maintain at least a base level of dignity during this process).
Prep
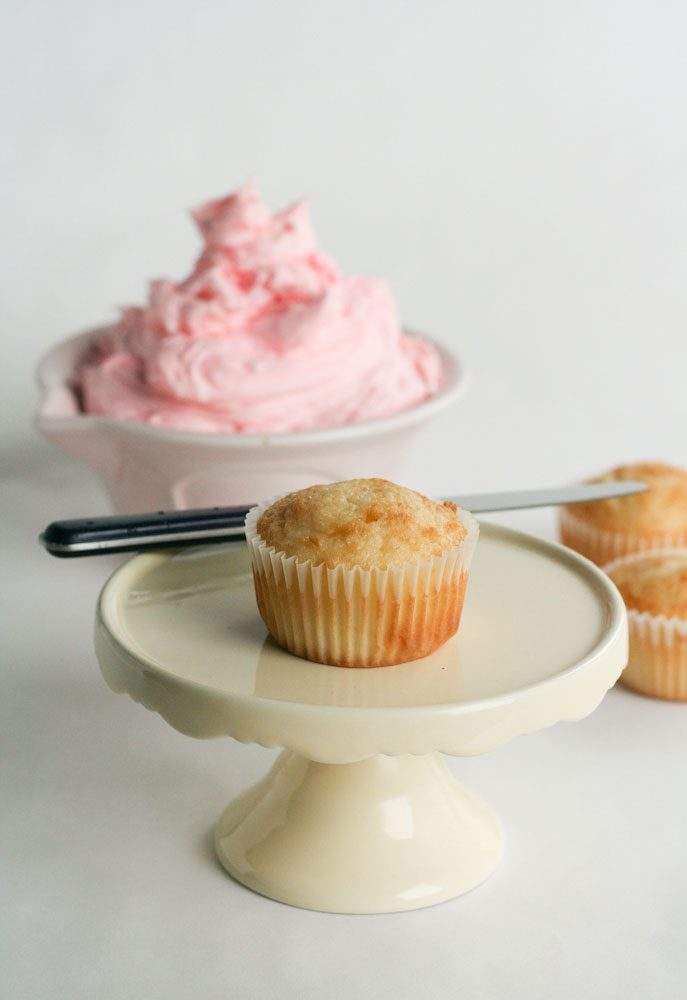
Make sure your cupcakes are completely cool before decorating. There's nothing worse than watching your beautiful hand-made (literally) designs melting away.
Let's get started once you have a batch of cooled cupcakes and a big bowl of icing.
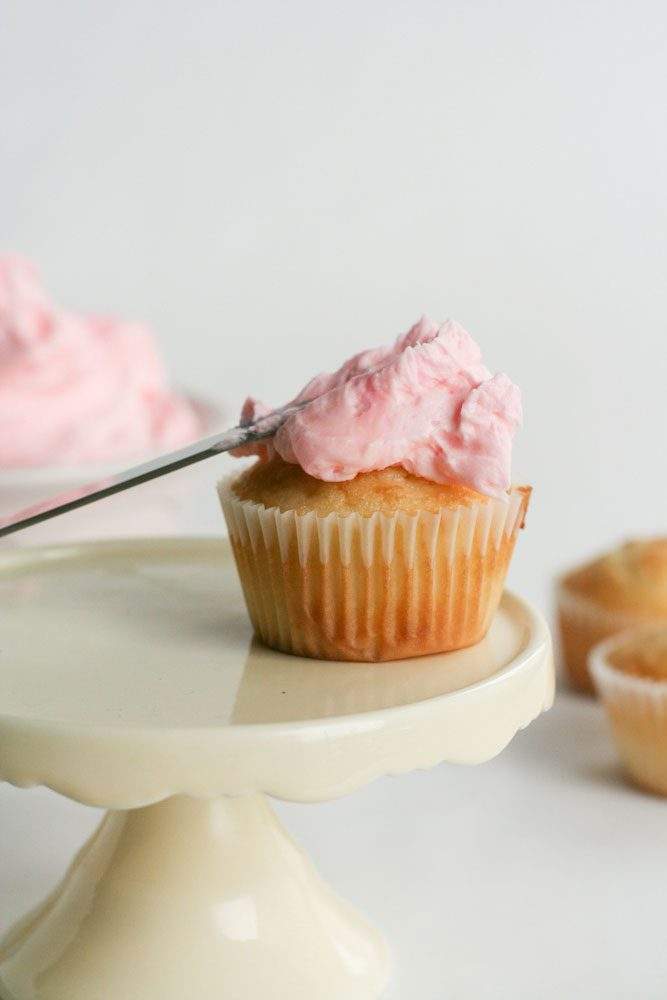
Smear a generous helping of icing on the cupcake using a butter knife. You can sort of smooth it out but don't worry about making it look nice.
Option One: Dab, Dab, Dab
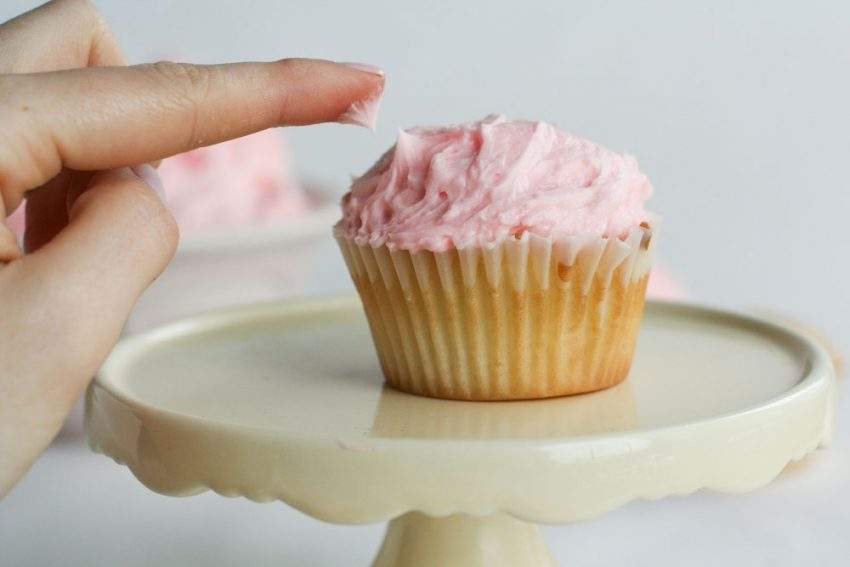
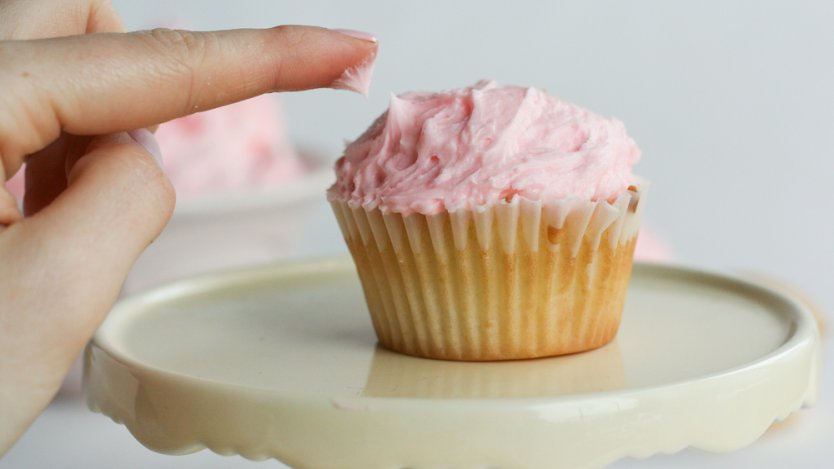
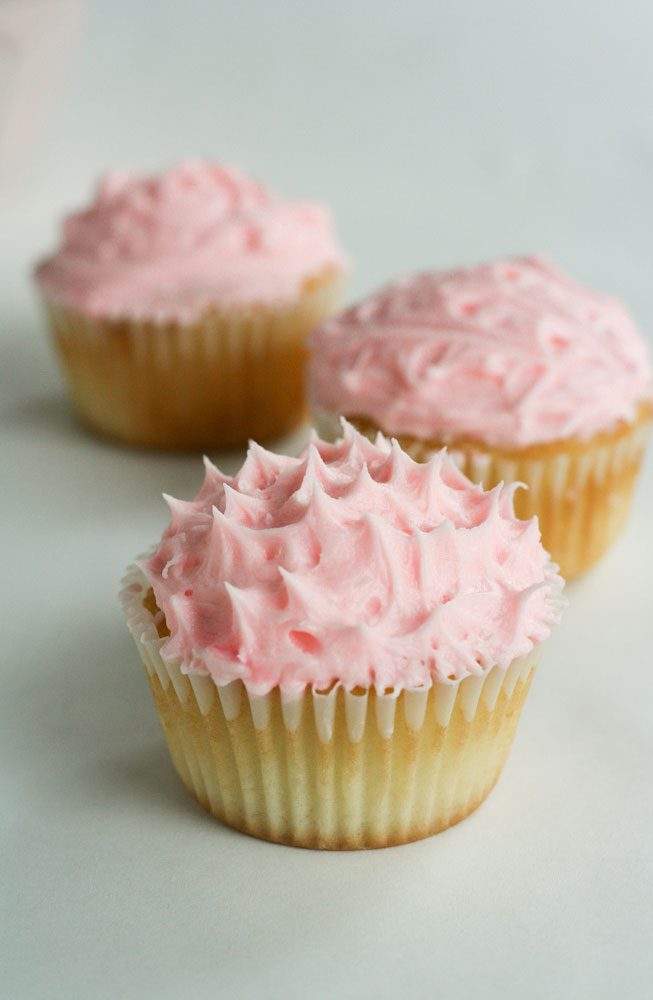
Take your finger (your clean finger from the hands that you obviously washed before starting this) and dab down on the icing, then lift it up to create a little spike.
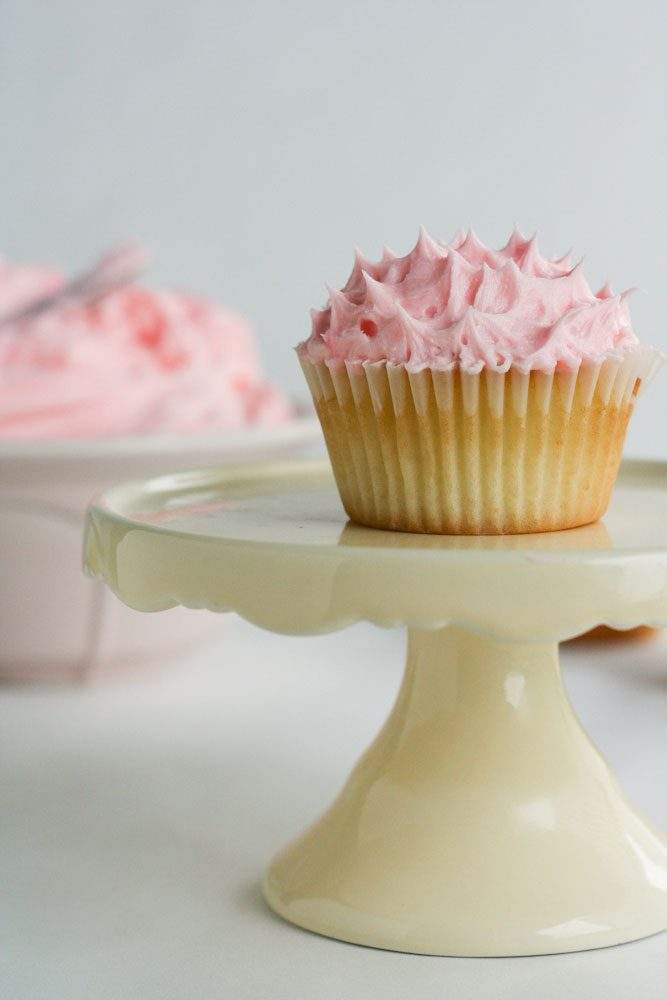
Continue to dab, dab, dab until the cupcake is covered with little points. It gives the icing a fun texture and makes the cupcakes look decorated without much effort.
Option 2: Spread and Swirl
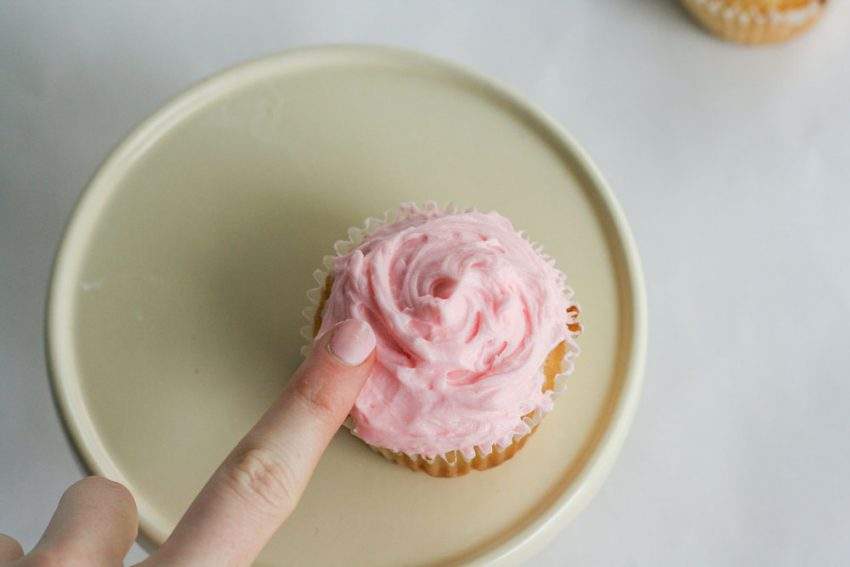
Take your finger, and starting on the outside of the cupcake swirl it around in a circle towards the inside. You might need to do that step twice to get a defined swirl showing up. This is my go-to decorating technique to quickly create a casual, almost floral look for cupcakes that are being used in the background of photographs.
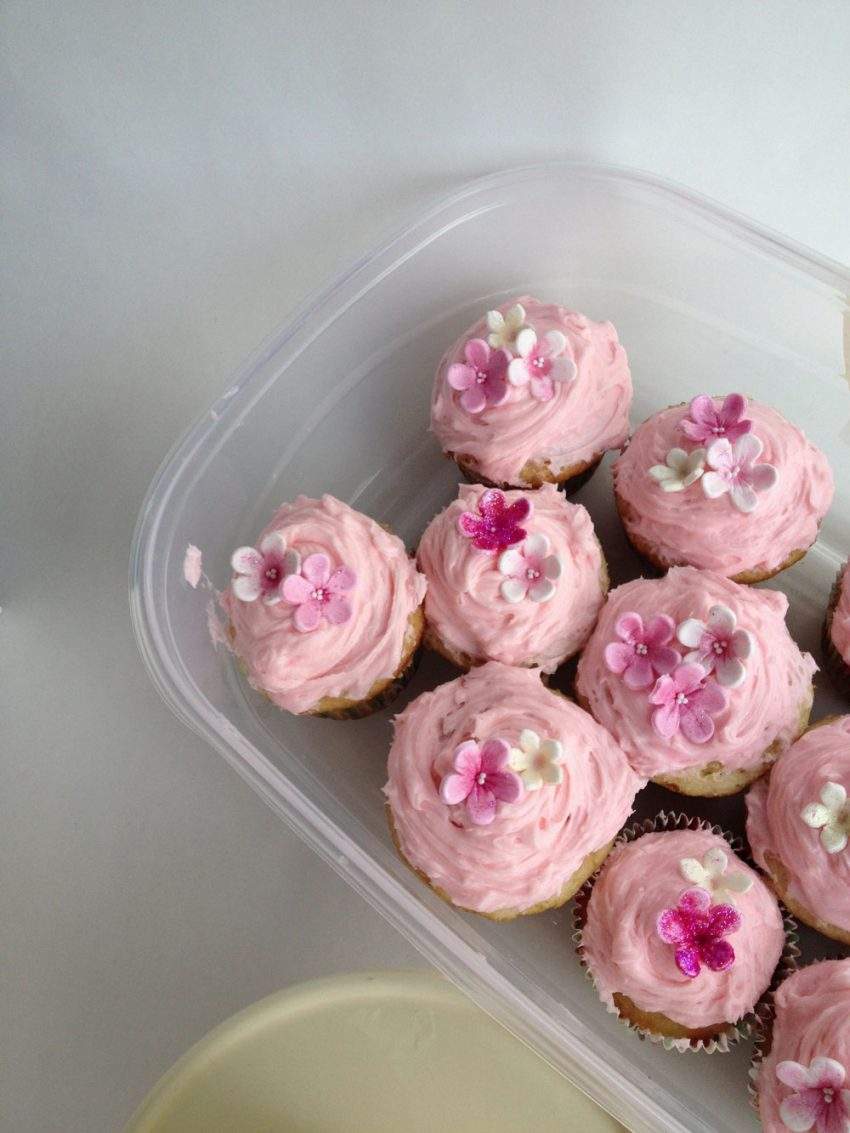
It looks cute on its own, but this design also lends itself nicely to adding a fancy sprinkle or two if you have them. I slapped on the icing and sprinkles for this batch in under 10 minutes, thanks to the spread-and-swirl technique.
Option 3: Fancy Crisscross
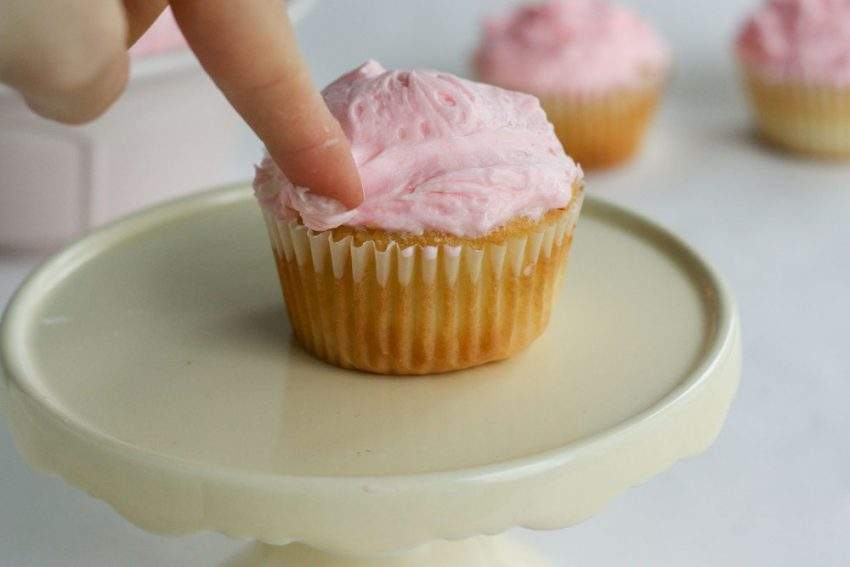
Smooth the icing out a little and then use the tip of your index finger to make three or four horizontal stripes on the icing. Rotate the cupcake 90 degrees and make another three or four horizontal stripes that cross over your first set.
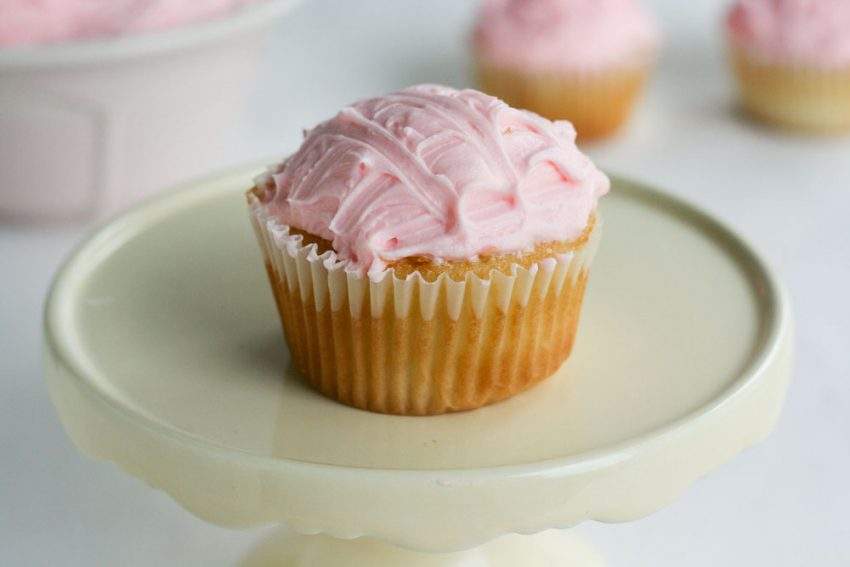
The result is a pretty pattern that doesn't look too fussy. If you happen to have toothpicks laying within reach, you can make the pattern more defined by using them to draw the lines.
So with no tools and minimal baking skills, you can still create cupcakes for all your bake-sale, birthday, BBQ, and potluck needs. Maybe, don't advertise that you smeared the icing around with your fingers before serving, unless you want them all for yourself (or see the hygiene tips at the end of the post).
Option 4 (advanced): Ziploc Piping Bag
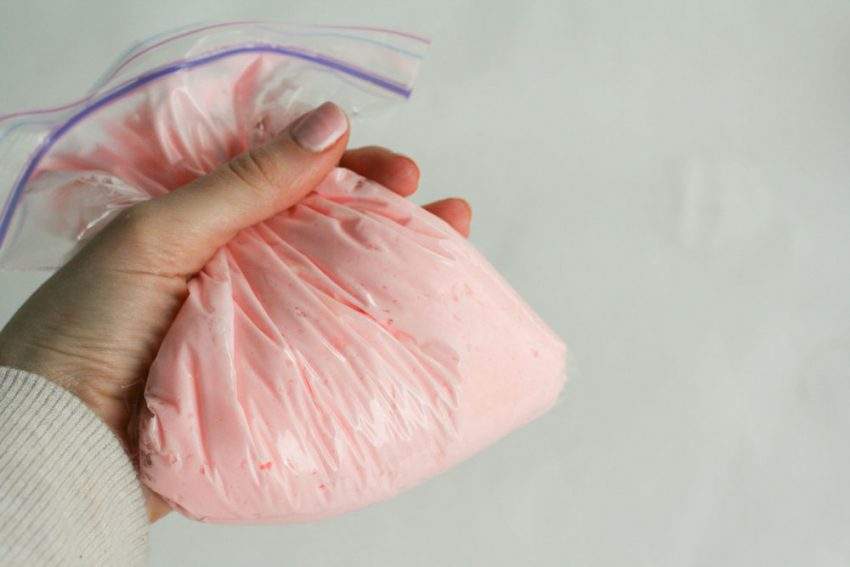
Now, let's say that you have gotten to the decorating step and aren't utterly exhausted, but find yourself in a kitchen with no decorating tools. As long as you own a Ziploc bag and a pair of scissors, you can try the advanced option below:
Fill the Ziploc bag with icing and close the top. Use scissors to snip off one corner of the bag, about 1 cm wide.
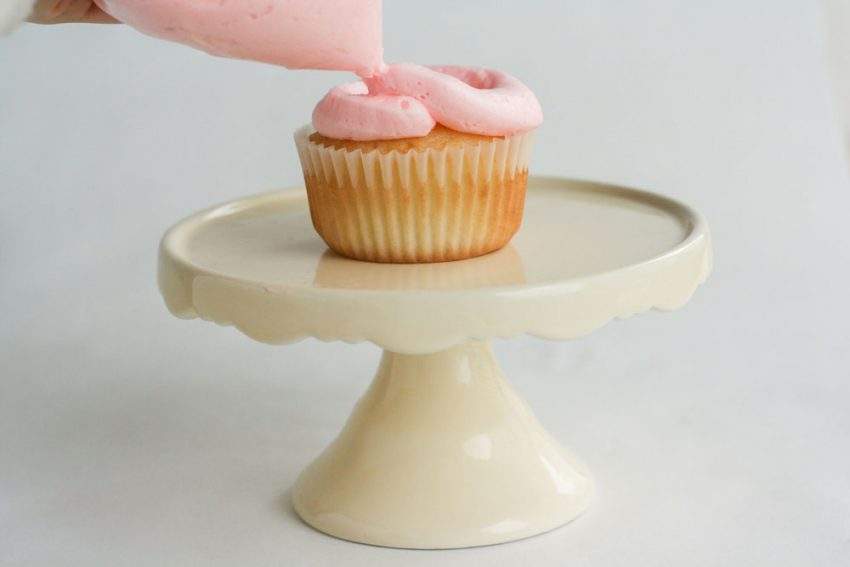
Using two hands, one near the top to push the icing downwards and one near the opening to guide the icing along, hold the opening 1/2 inch up from the cupcake so that you don't squish the icing as it comes out. Slowly pipe out a swirl while keeping the tip lifted from the previously piped icing.
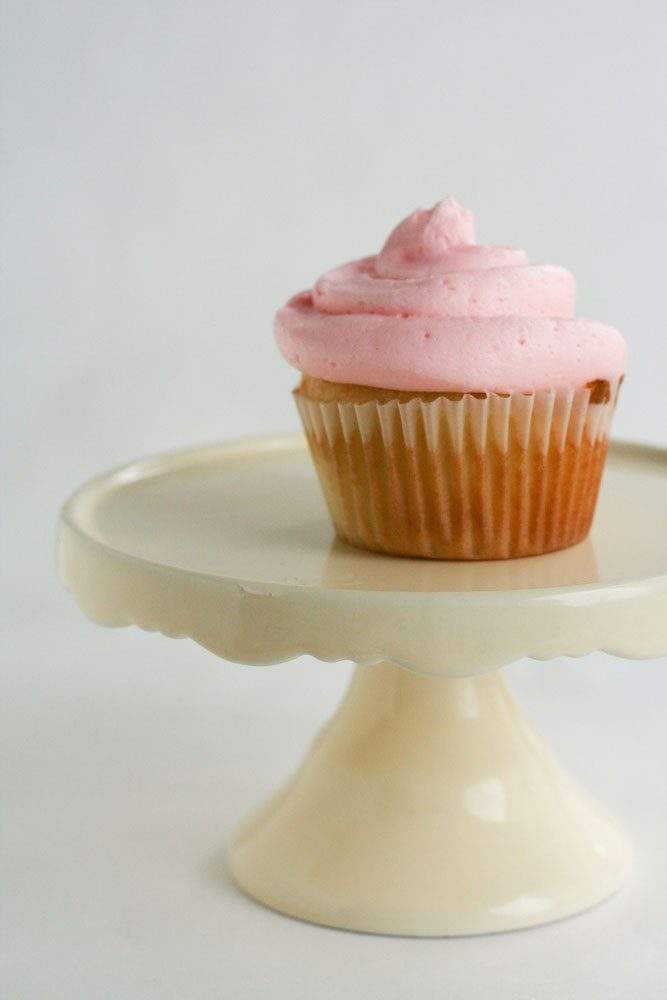
When you get to the top, lift the Ziploc bag straight up to create a little point. Then step back and admire your professional looking cupcake. These definitely take a little bit more time and more icing so make sure that you have enough of both before you get started.
Hygiene tips: Not loving the idea of serving cupcakes that have been man-handled (or lady-handled)? No problem! You can use the butter knife as a stand-in for your finger in any of the first three designs, or wear food-safety gloves (who owns those at home?).
Happy decorating!

