
It's Christmas party season and there's no better time to round up your friends and family for some seasonal merriment. This year, throw a get-together that stands out from the usual food-drinks-chit-chat shindigs by throwing an awesome cookie painting party. Even if your friends' painting skills barely rival that of preschoolers, never fear. These tips and tricks will have everyone creating edible awesomeness, regardless of his/her skill level.
Supplies
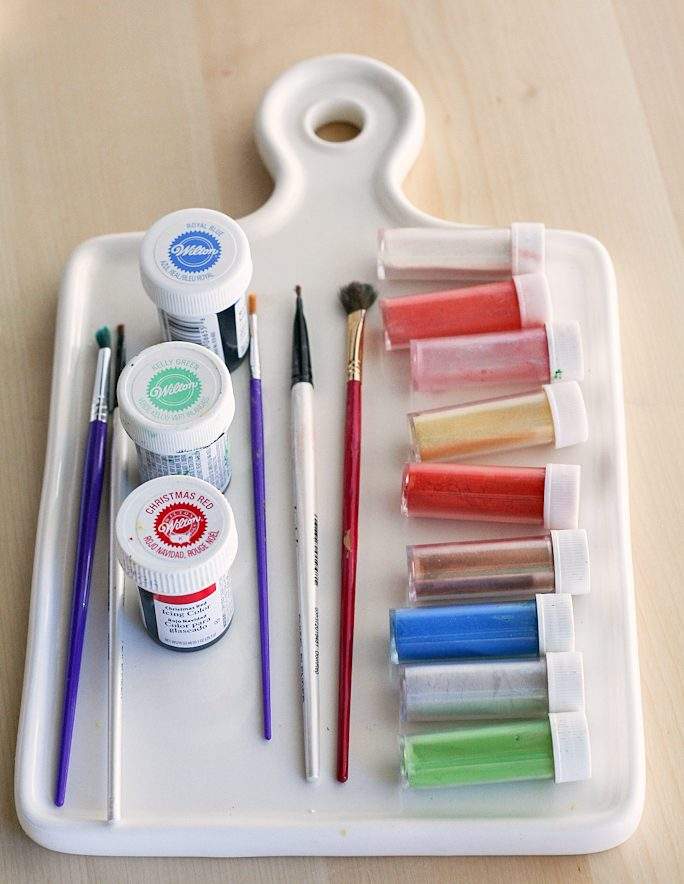
To make cookie-painting magic happen, you'll need a few supplies. Luckily, these are readily available at craft stores with cake decorating sections like Michaels.
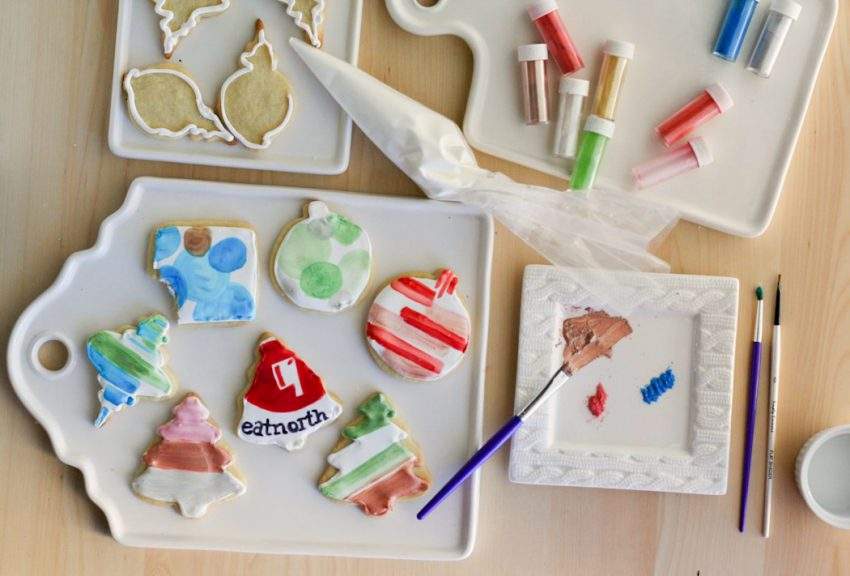
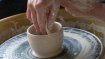
Wilton Luster Dust: shimmery powder that comes in a clear tube. It might look like something Ralph Wiggum would eat, but we promise that it's completely edible.
Paint brushes: please don't use brushes that you've dipped in glue, paint or solvents. You want to delight your guests, not poison them. They deserve clean and sanitary decorating conditions. While you're at Michael's picking up the luster dust, grab a pack of brushes.
Gel food colouring: this is optional. The luster dust is more than enough to get the party started, but if you want to offer your guests an array of decorating mediums, then gel colour is the way to go.
Vodka
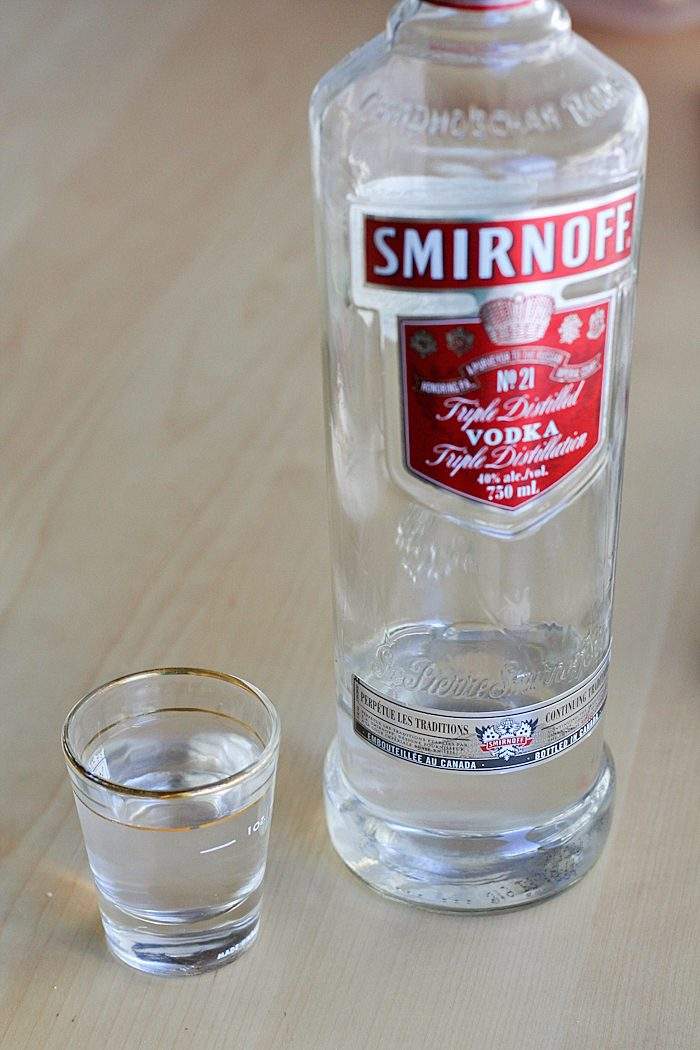
Last, but not least: Vodka! Vodka evaporates quickly, which makes it a better choice than water for mixing in with your luster dust or gel colours. It leaves no aftertaste, just pretty colours. Plus, you can pass it around to your guests to get their creative juices flowing.
Prep
The key to creating a seamless event is a bit of prep the day before.
Bake up a batch or two of sugar cookies. Aim for four to five cookies per person, and remember that it's better to have too many than too few.
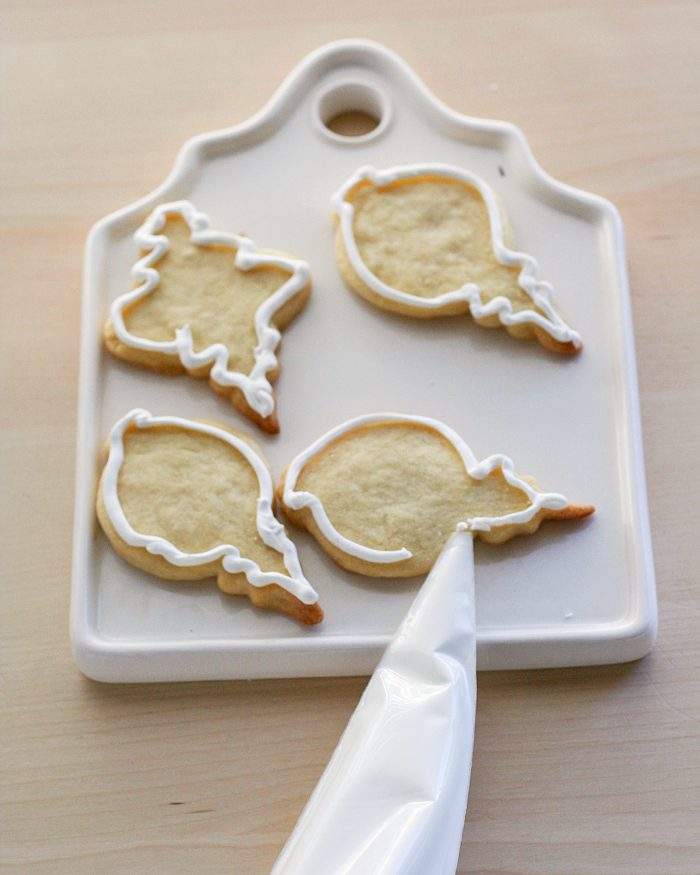
Prep the cookies by piping royal icing along the edges. The trick to getting a neat and uniform edge is keeping the piping tip a few centimeters above the cookie. It helps you guide the icing and prevents squished borders. While that dries, stir a few teaspoons of water into the remainder of the royal icing, so that it's thin enough to flood the cookies. Spoon the icing onto the cookies. It will smooth out and settle as it sits. Allow the icing to dry until completely hard before painting.
Party Time
Now that your cookies are prepped, luster dust is shimmering majestically, paint brushes are squeaky clean, and vodka is close at hand, it's time to get this party started!
Settle guests in with a glass of wine or a cocktail (may we suggest a mug of butter beer?), and provide them with bowls of savoury snacks like popcorn, chips or pretzels to munch on while they create their masterpieces.
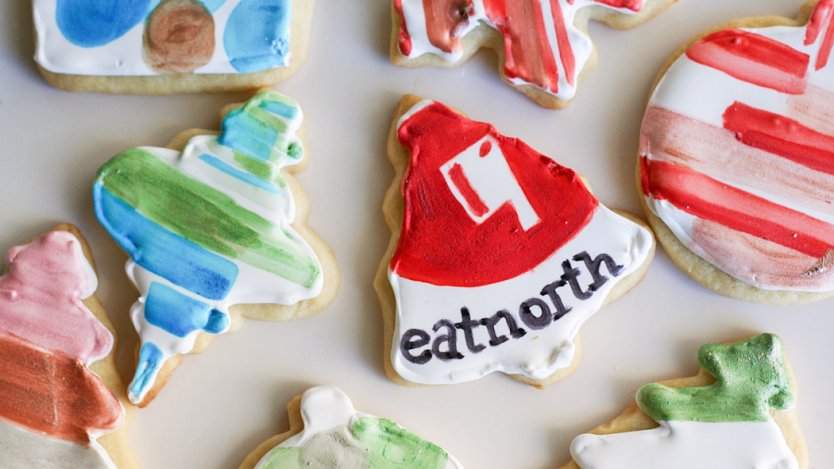
Designs
You don't need to be an artist to have fun.
Inspire guests with a few examples of completed cookies painted with basic dots and stripes. Often, simple is best. Make it easy for guests to focus on chatting, drinking, and snacking while decorating.
You can also motivate your friends with awards for the best, worst, most childish, and most delicious-looking cookies. If someone is far from being the best, at least they'll be in the running for the illustrious Ugliest Cookie award. Hate the cookie you just painted? Destroy the evidence by eating it; it's like it never happened.
Turn on the oven, dust off your mixer, and invite some friends over for a night of cookie fun.


")